helmet crest on black
1945 MB Project

West Coast Military Vehicle Connections

Home
MILITARY LIVING HISTORY EVENT
M151A2 Project
M151A2 (page 2)
M38 restoration project
DeVos Family
1945 MB Project
LINKS
Studio Rentals
About Us

Purchased on 31 July 2001

As of 29 May 02
jeeprf.jpg

m1008(1).jpg

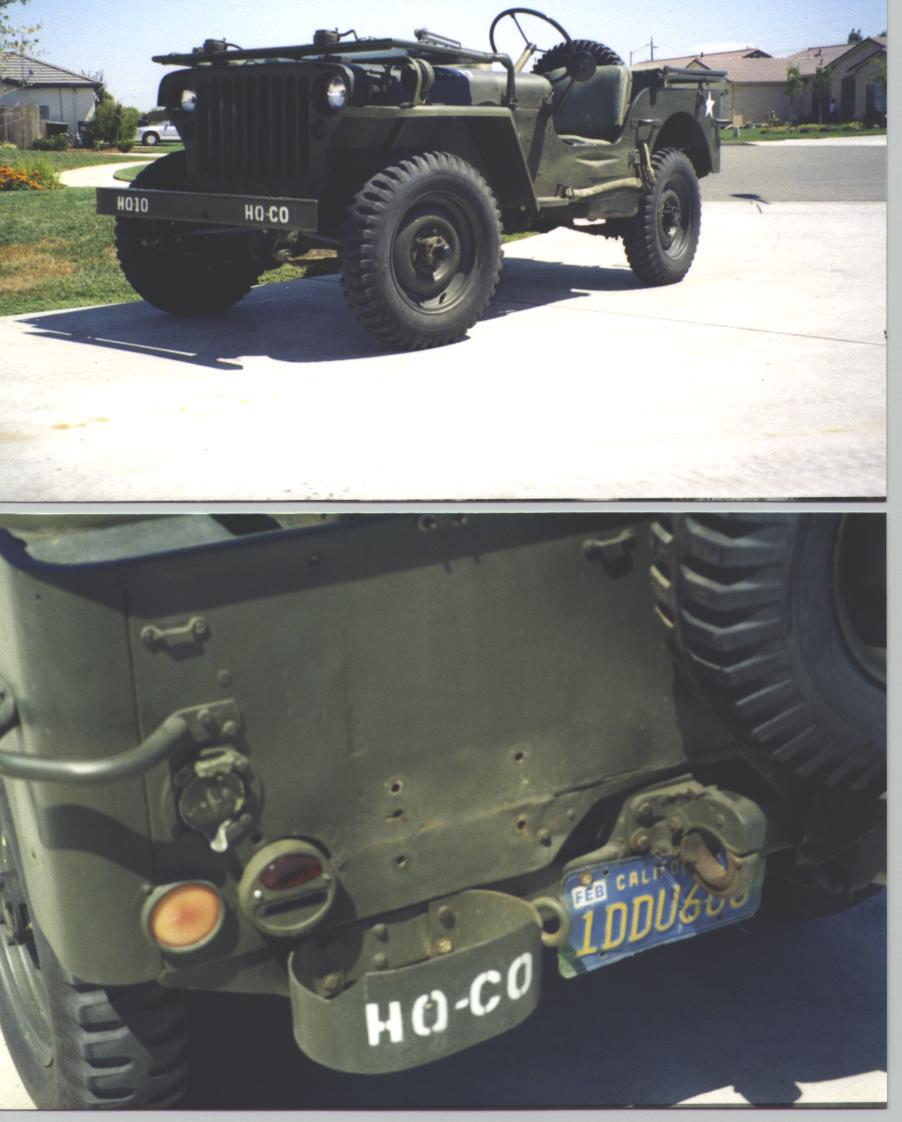
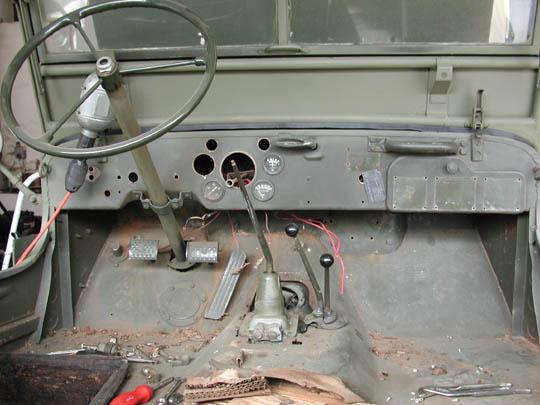
Before pic of rear section. Repairs were done in the past to the rear panel, they did a very good job but, a new panel will be needed, projected cost: $200

m1008(1).jpg

4 Apr 02, tonight I solved my starting problem, I could never get the 6 volt starter to crank things over, I tried jumping it directly from the battery, no joy, then I went and talked with the local auto electric shop that knows old stuff and he said to make sure you have a direct ground from the battery, and get a group 2 size instead of group 1. After that I ran a direct ground between the batt ground on the batt tray to the bonding strap under the generator, hit the switch and voila! Good to go! The 6 volt system is tricky for a first timer.

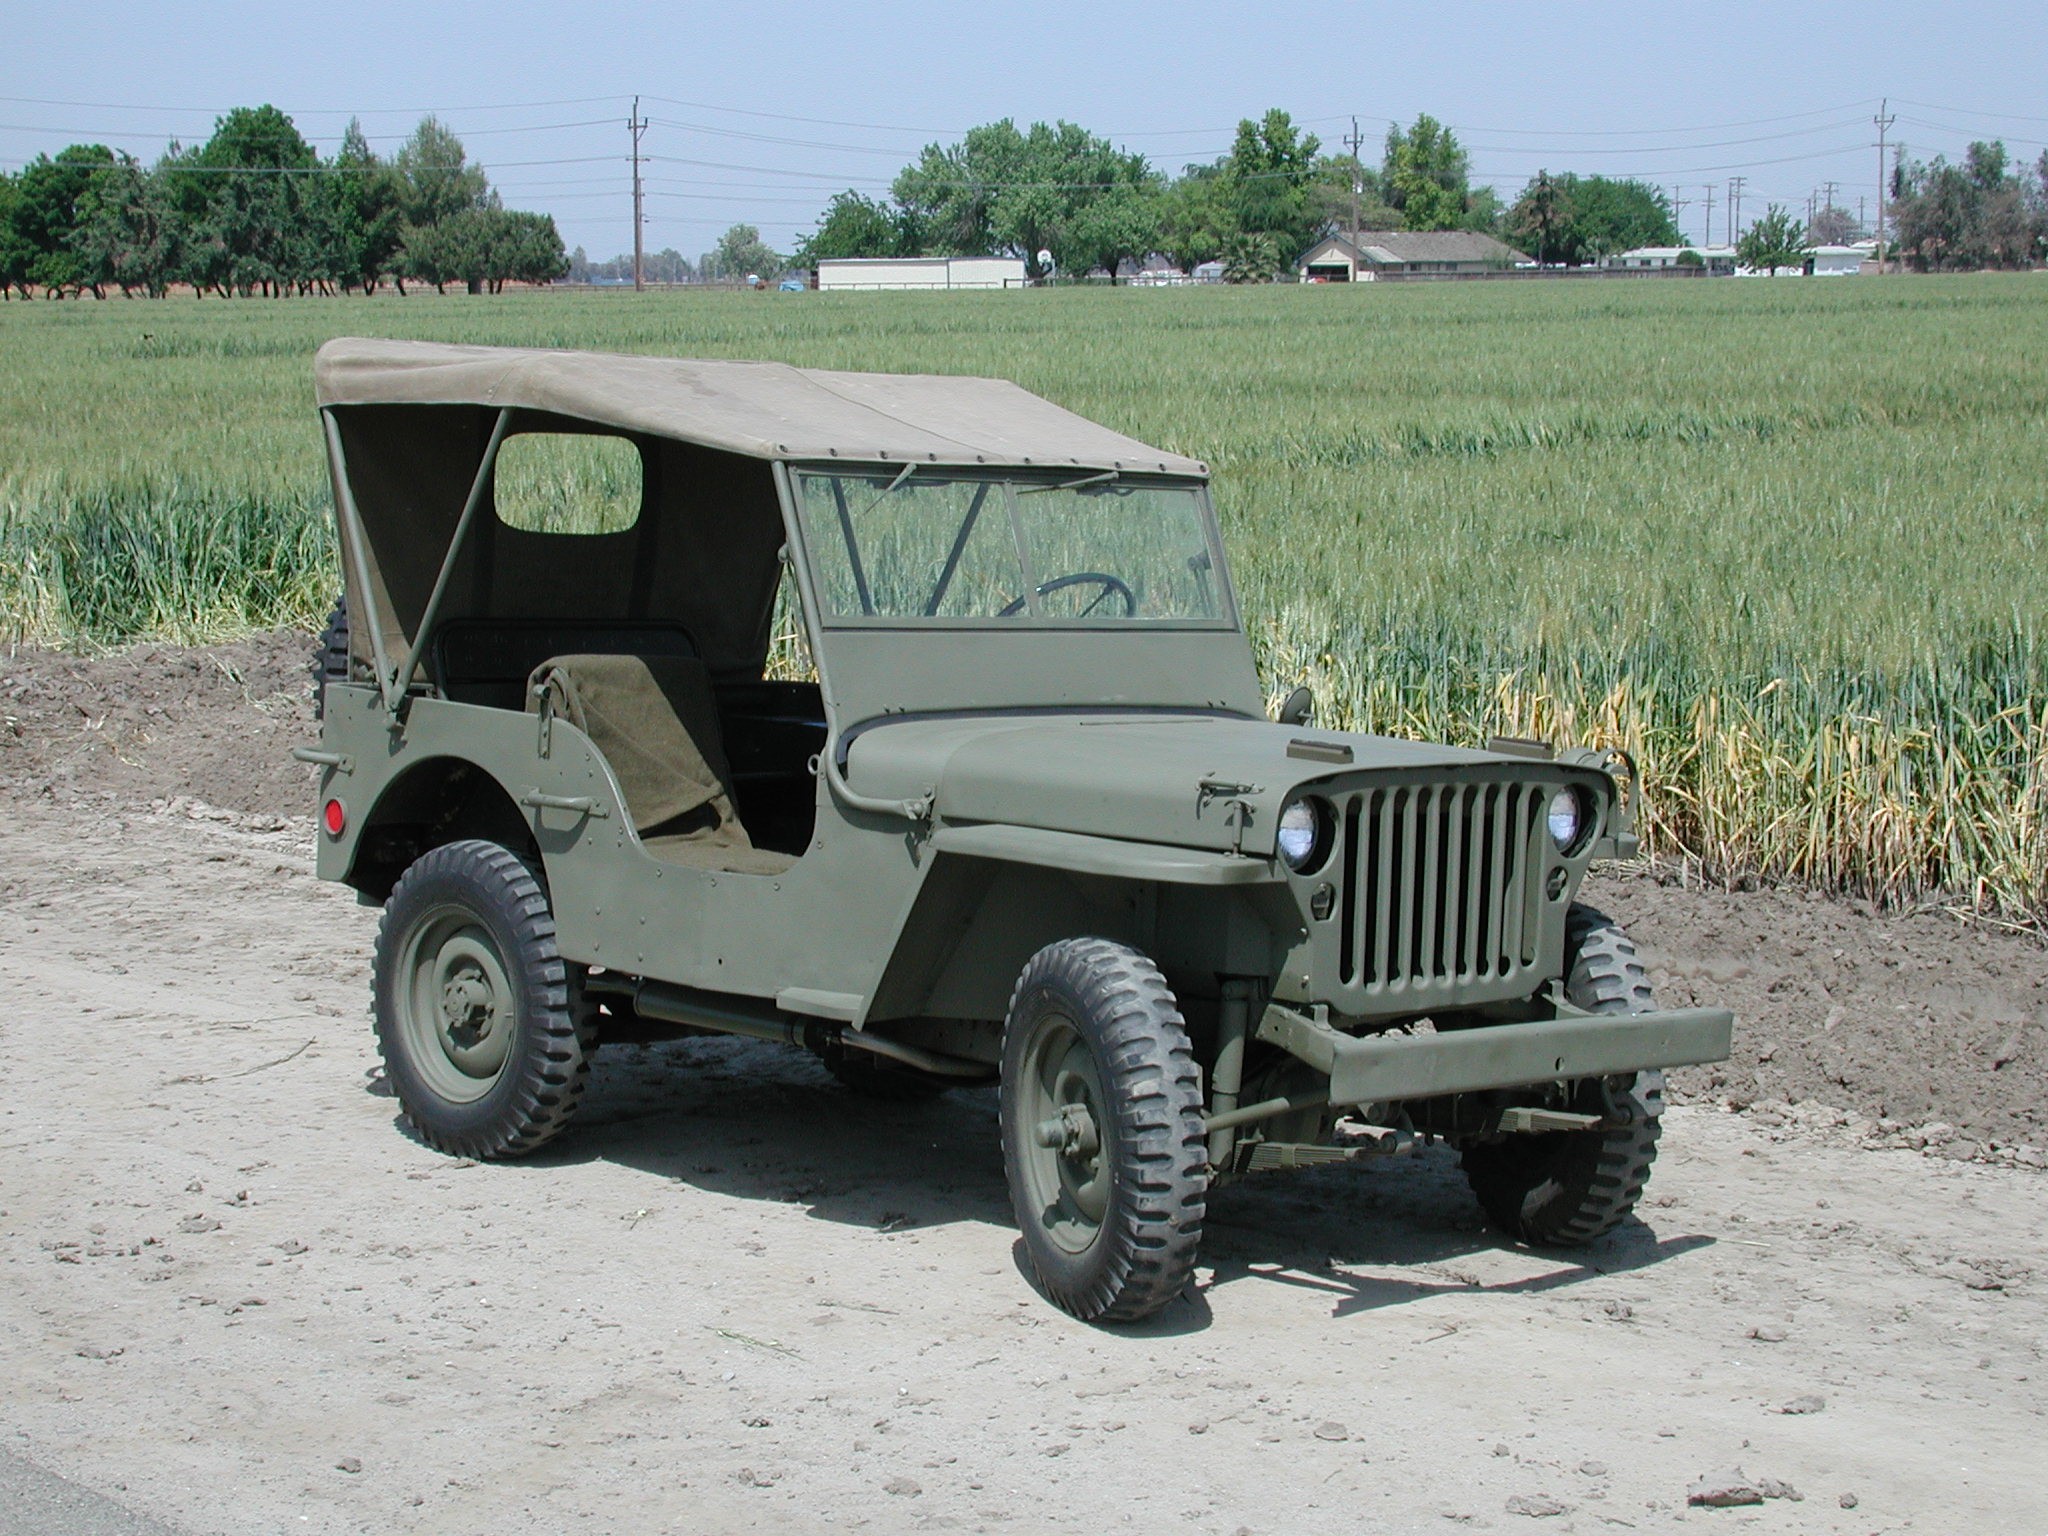
I found out about this from a VA rep from the local employment office in Hanford. Frank told me that a friend of his had a Jeep for sale with machine guns and all! A bit sceptical of its glory I went to the owners house (which was a few blocks away from where I live)and found a pretty good looking rig, I nosed around a bit and went home, grabbed my 'All American Wonder' book and went back and verified the important parts. I found it had a complete new steering system and the Willys engine with a Ford head. After that I looked for body rust, found none! The previous owners went crazy with undercoat in the past, this preserved the body from potential rust. It had civilian wiring and 12 volt system, that came off first. I purchased it and drove it home.
The first order of business was to gather knowledge as to what was supposed to be on a 1945 MB, then find out what I was missing. I then divided the refurbishing into 2 parts: Engine/drive train and Body work. This would allow me to budget for parts as the progress formed. I first sent the radiator for rodding and tank re-weld, cost was $60.00. Then ordering all required engine parts and new wiring harness, I called RAPCO for the 319 O.D. Green paint (2 gallons) and terminal strips, then I called Second Armor Productions for: 6 volt Generator $100, wiring harness $195, exhaust kit $109, new fuel line kit $74. I also called Ron Fitzpatrick for the fine details; firewall pad $35, bonding strap kit $100, radiator felt kit $20, wiring clip set $39. The rest I got from NAPA (see G503.com for a cross referrence list). I thank God for Ron Fitzpatricks website and his help, without it I'd be stumped!

Left side view, by now things are coming together. Wiring is my challange, confusing as hell to me! finally made some progress tonight, should be done in a few hours.

Engine as of 7 June 2002
mbeng1.jpg

Left side as of 7 June 2002
mbeng2.jpg

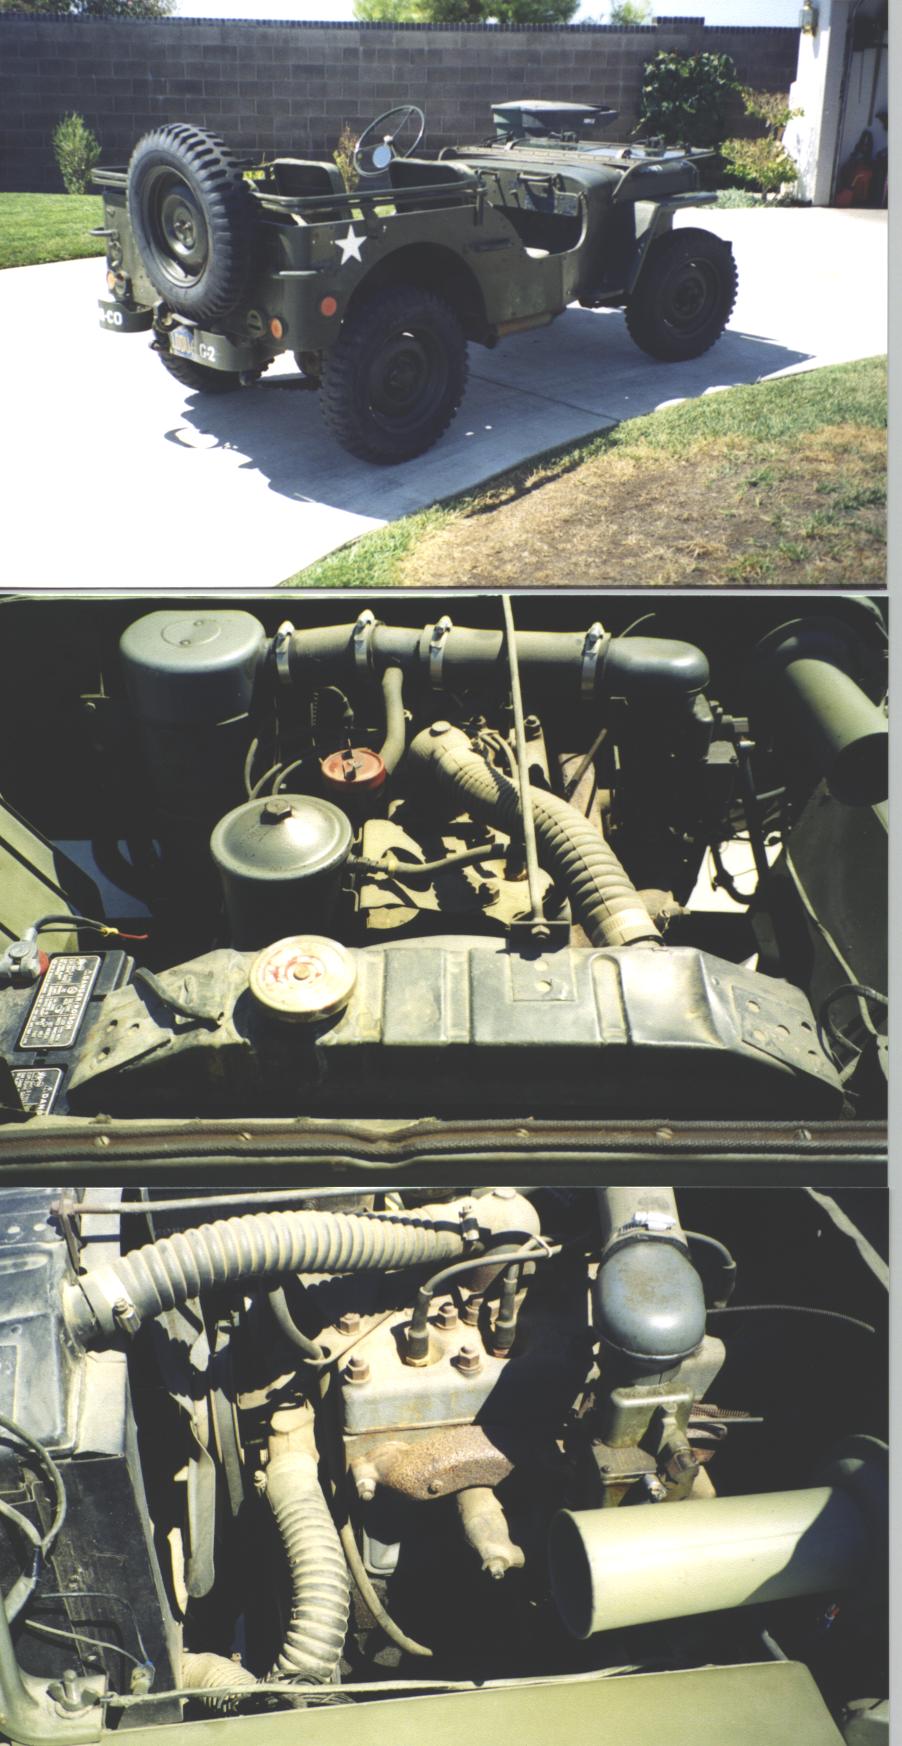
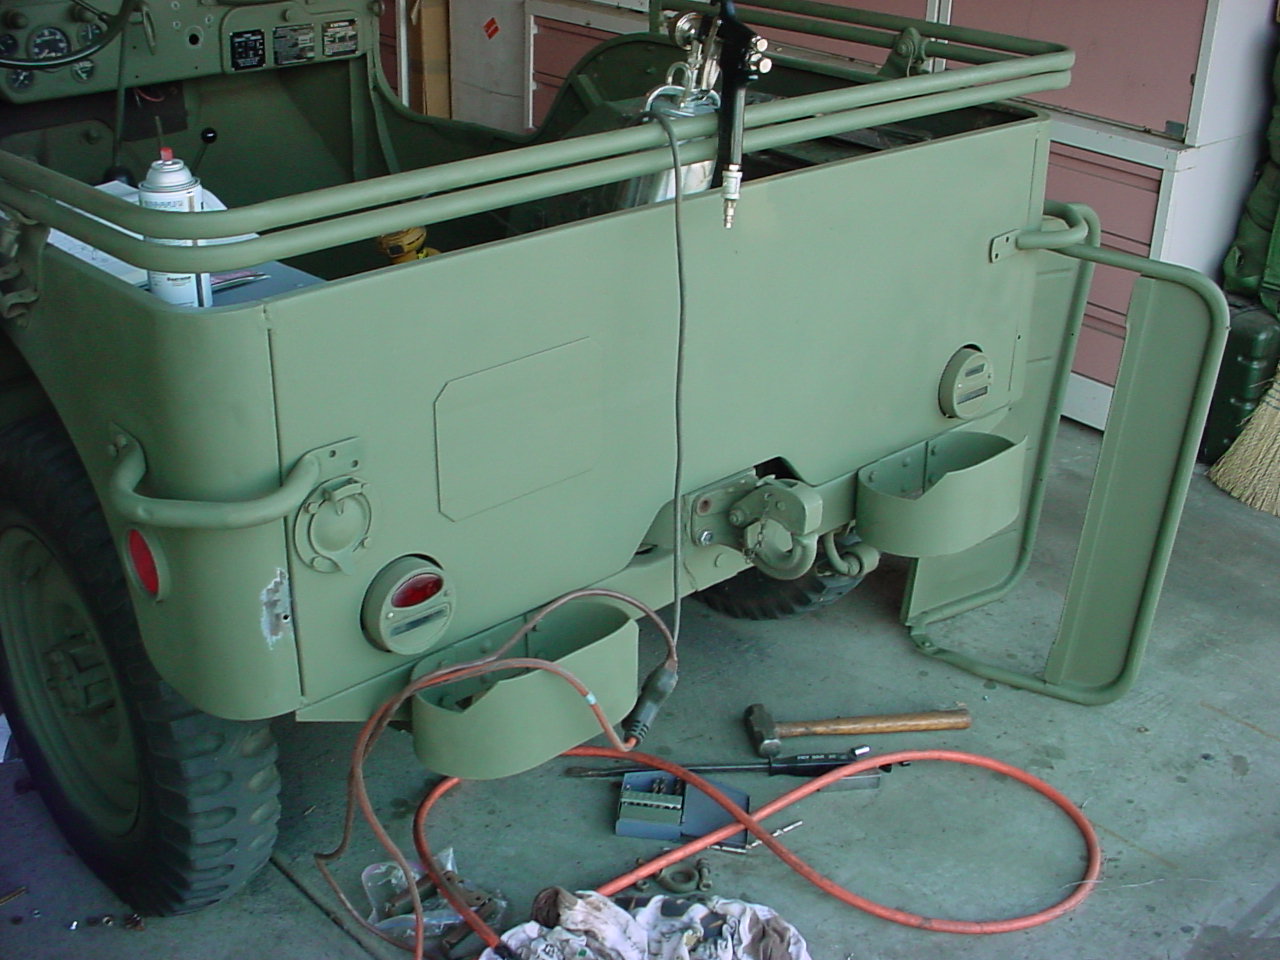
Engine compartment shows years of cobbling, mainly the electrical system and exhaust. Front grill has some minor damage, I replaced it with a Philipino replica part for $79.00, I discourage using this, many holes didn't line up and required some machining. I'll repair the original at my leisure.

29 May 02: So far work has progressed steadily, last week we got the new floor built to spec and installed the new floor and correct rear panel. As you probably know, once you remove something you look at it and think "wow, I should fix this before I put it back on" so it goes, more time is consumed this way.  Seats were sandblasted and holes mig welded and buffed, repainted and await completion of rear area. rear chasis was sanded, primed and repainted, new wiring installed to tail lights.

Dash repairs
mb9.jpg
All dash work had to be done prior to wiring completion due to needs for painting

mvc-004f.jpg

New rear panel installed, took about 6 hours labor for removal and installation.

mvc-006f.jpg
Detail of lamp wiring, routing is tricky